This is a sponsored post written by me. I received compensation and product in exchange for my opinion. All opinions are mine alone. This post may contain paid links.
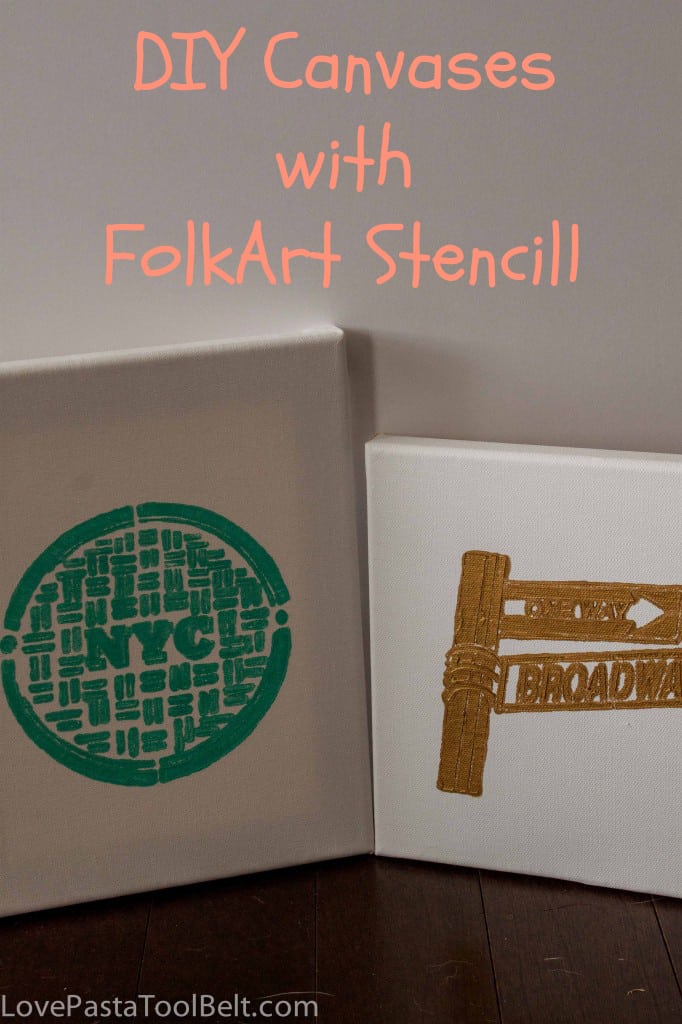
I love to do painting projects but I am anything but talented at it. Free handing is a no go for me so I have always wanted to try out some good stencils. I was so excited to try out the FolkArt Stencils and Paint. I decided to create some cute canvases for our bonus room where we’re going to create a travel wall. Today I am sharing with you my DIY Canvases with FolkArt Stencil1.
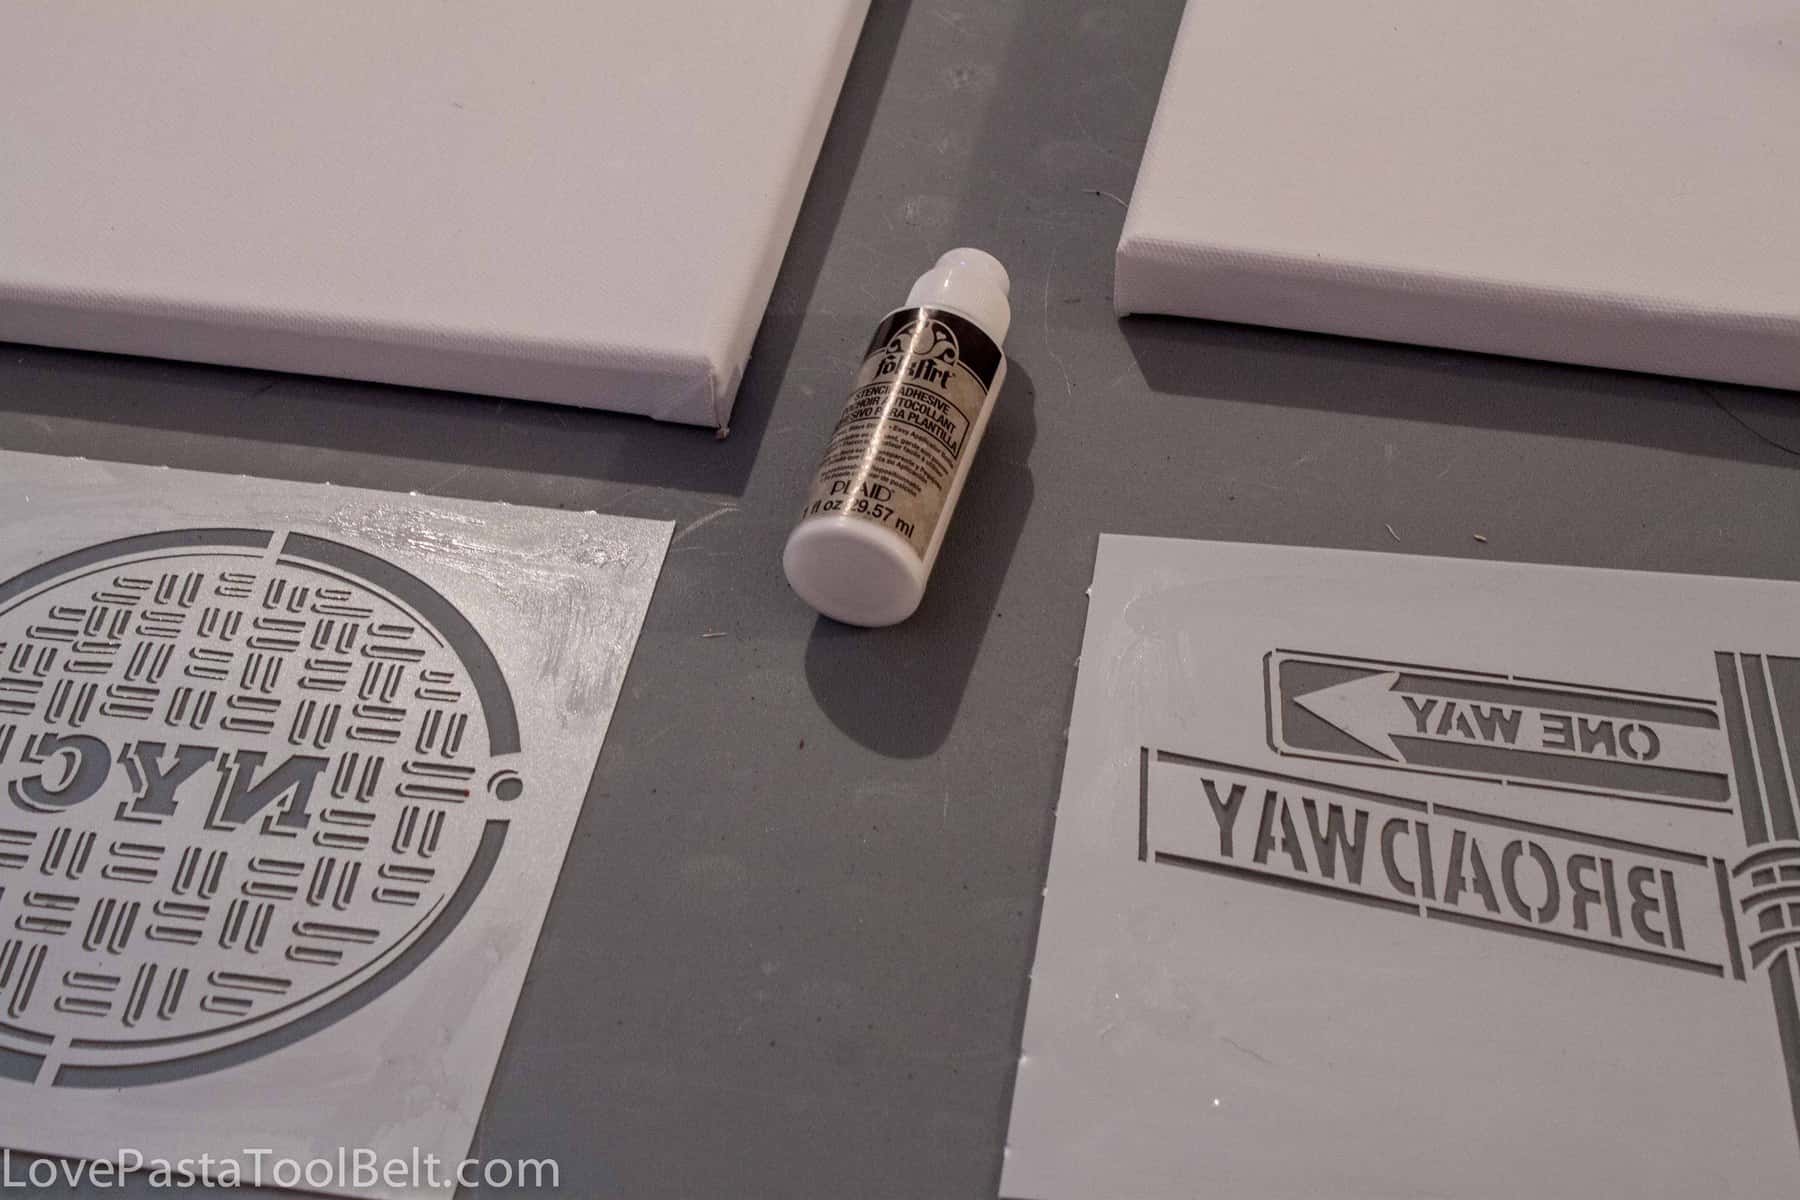
I received these stencils and paints to try out and you can find the FolkArt stencils, paint and more at Michaels. My favorite thing about this project was the stencil adhesive. Did you know there is such a thing? I had no idea. You put it on the back of your stencil and it makes it stick to your surface so no slipping! And when you remove it there is no remaining residue or spots on your project. It just made all of my stenciling projects a whole lot easier!
Supplies:
– FolkArt Stencil1
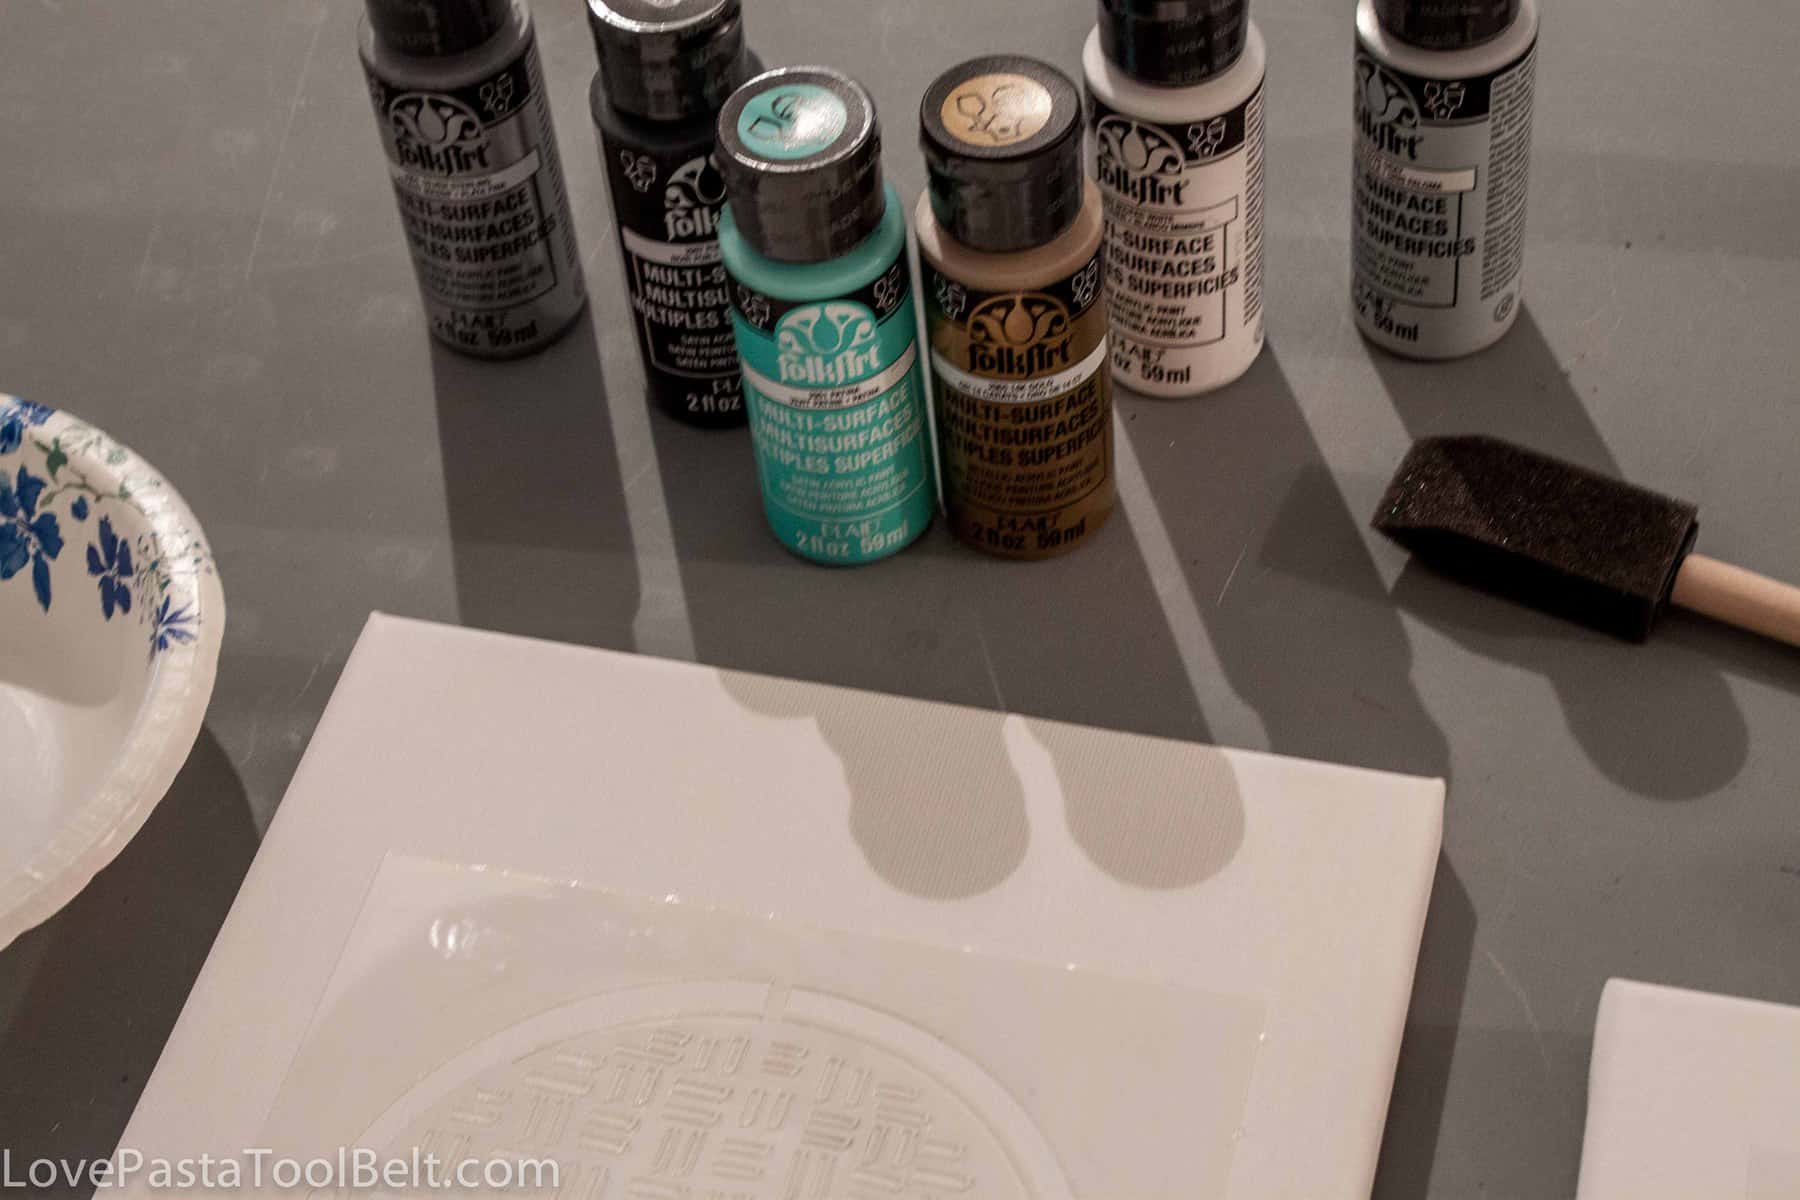
– Folk Art Paints
– Sponge brushes
– Canvases
-FolkArt Stencil Adhesive
Directions:
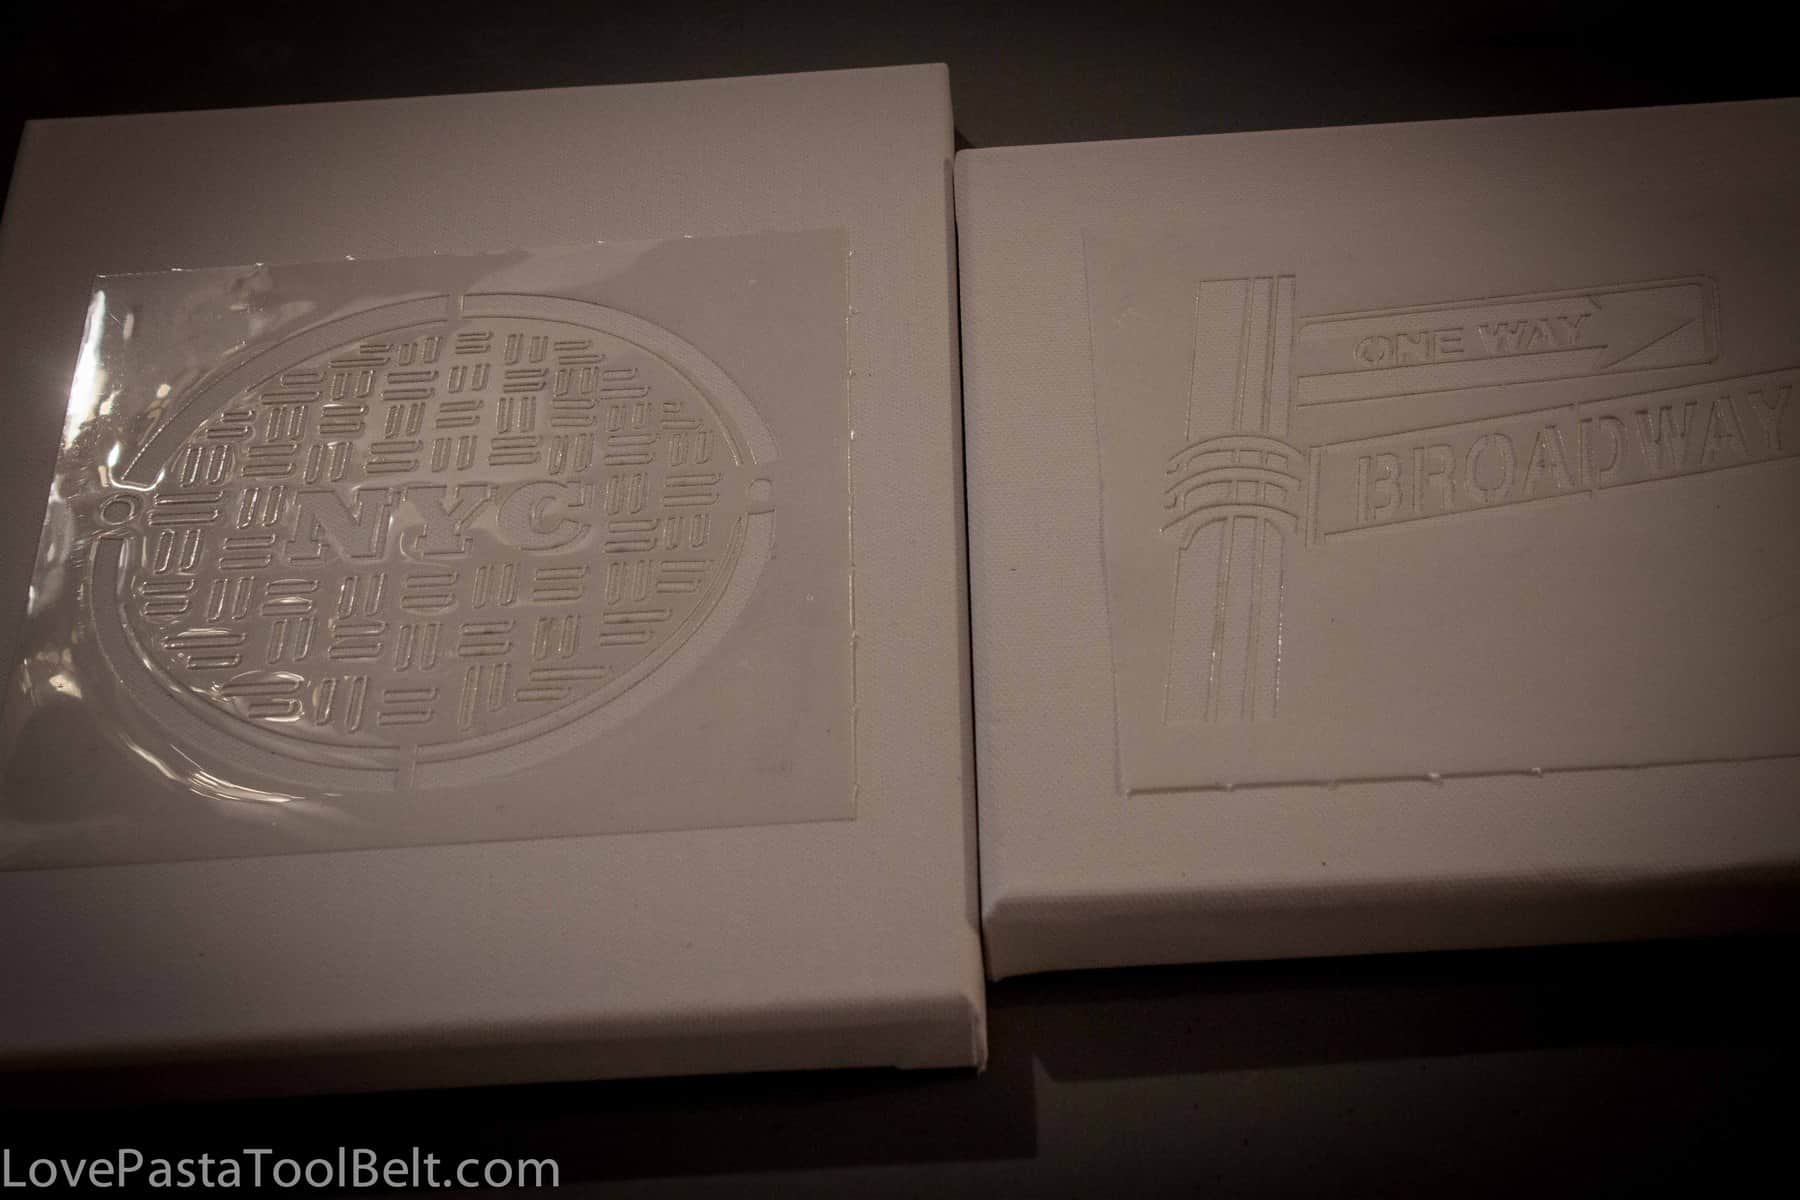
1. Began by using the stencil adhesive to place the stencils onto your canvas. Follow the instructions on the bottle.
2. Once your stencils are stuck onto your canvas then put your paint in a bowl and gather your brushes
3. Use your sponge brush to sponge on the paint. Let it dry between layers and get it to the desired coats of paint.
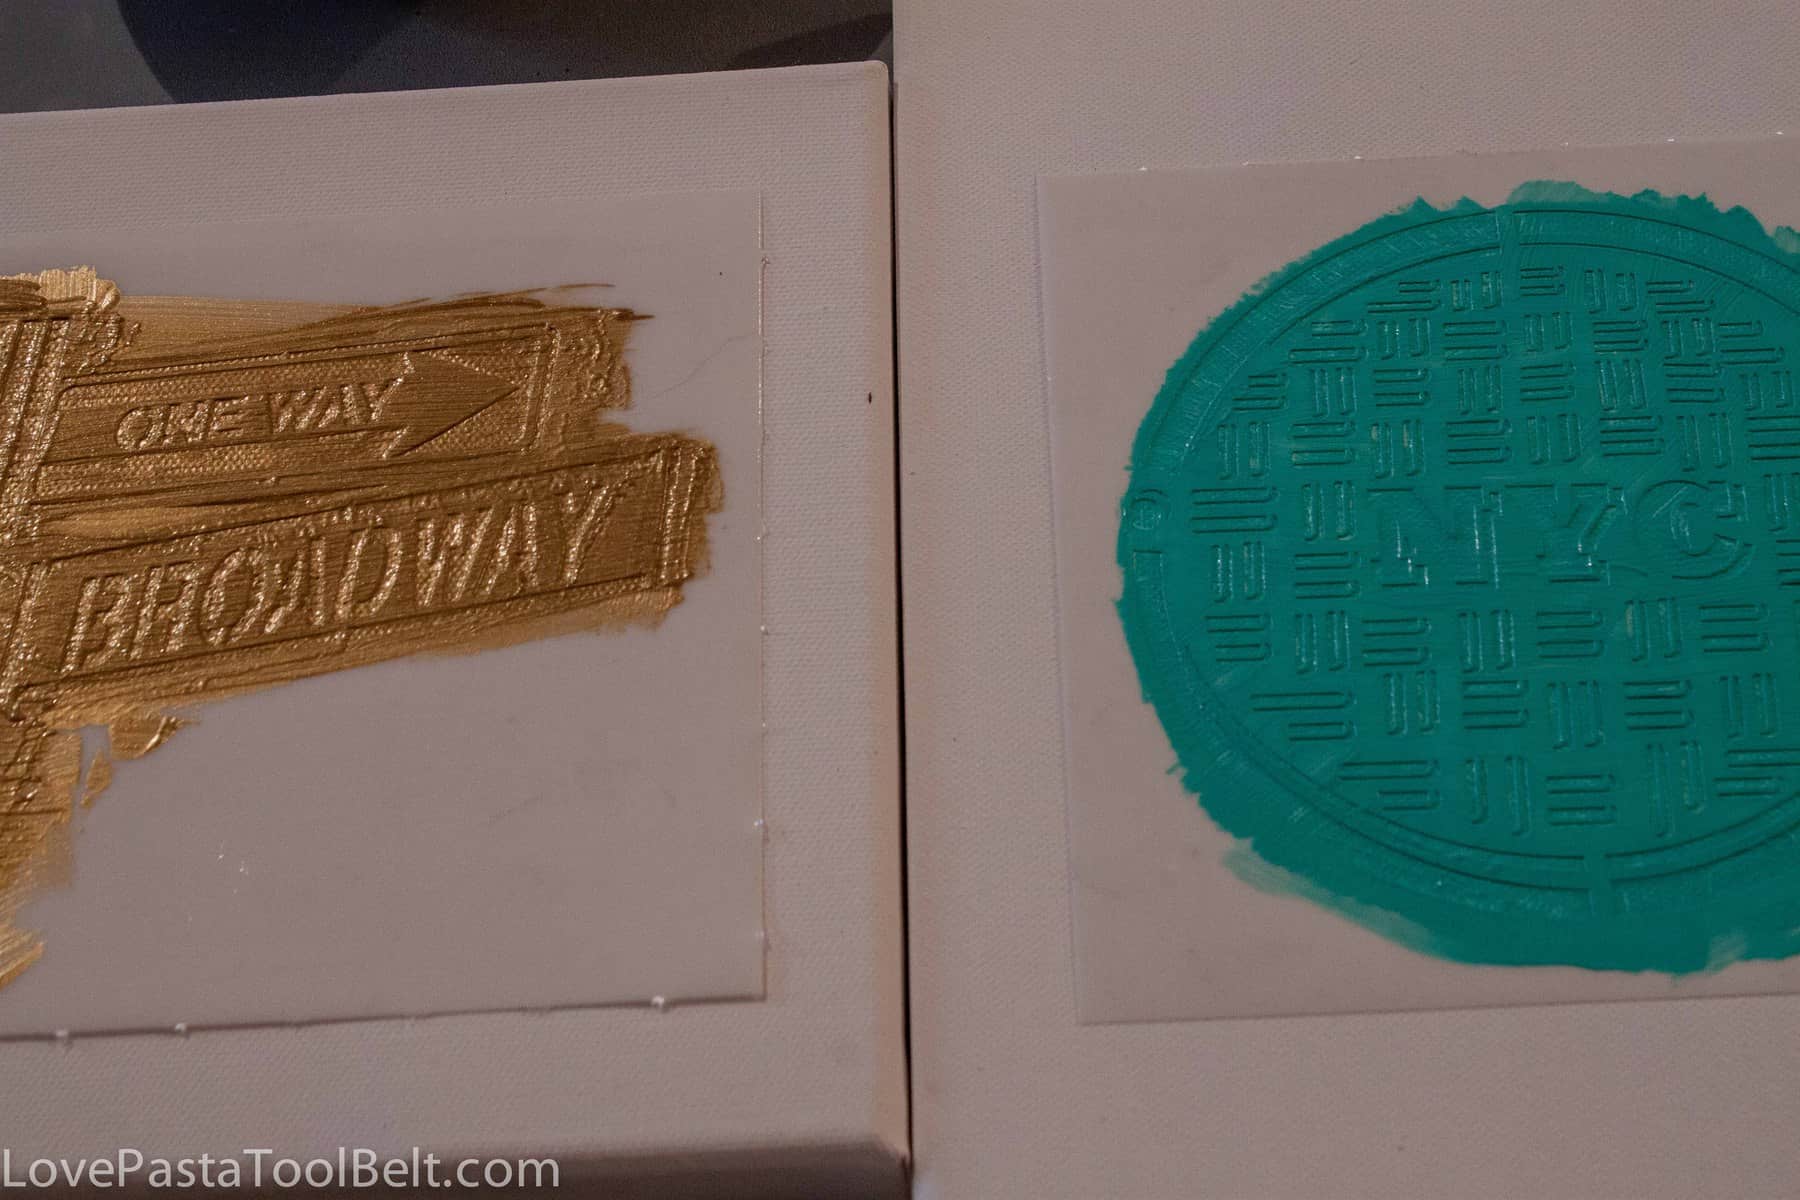
4. Let the paint dry completely and then carefully remove the stencils
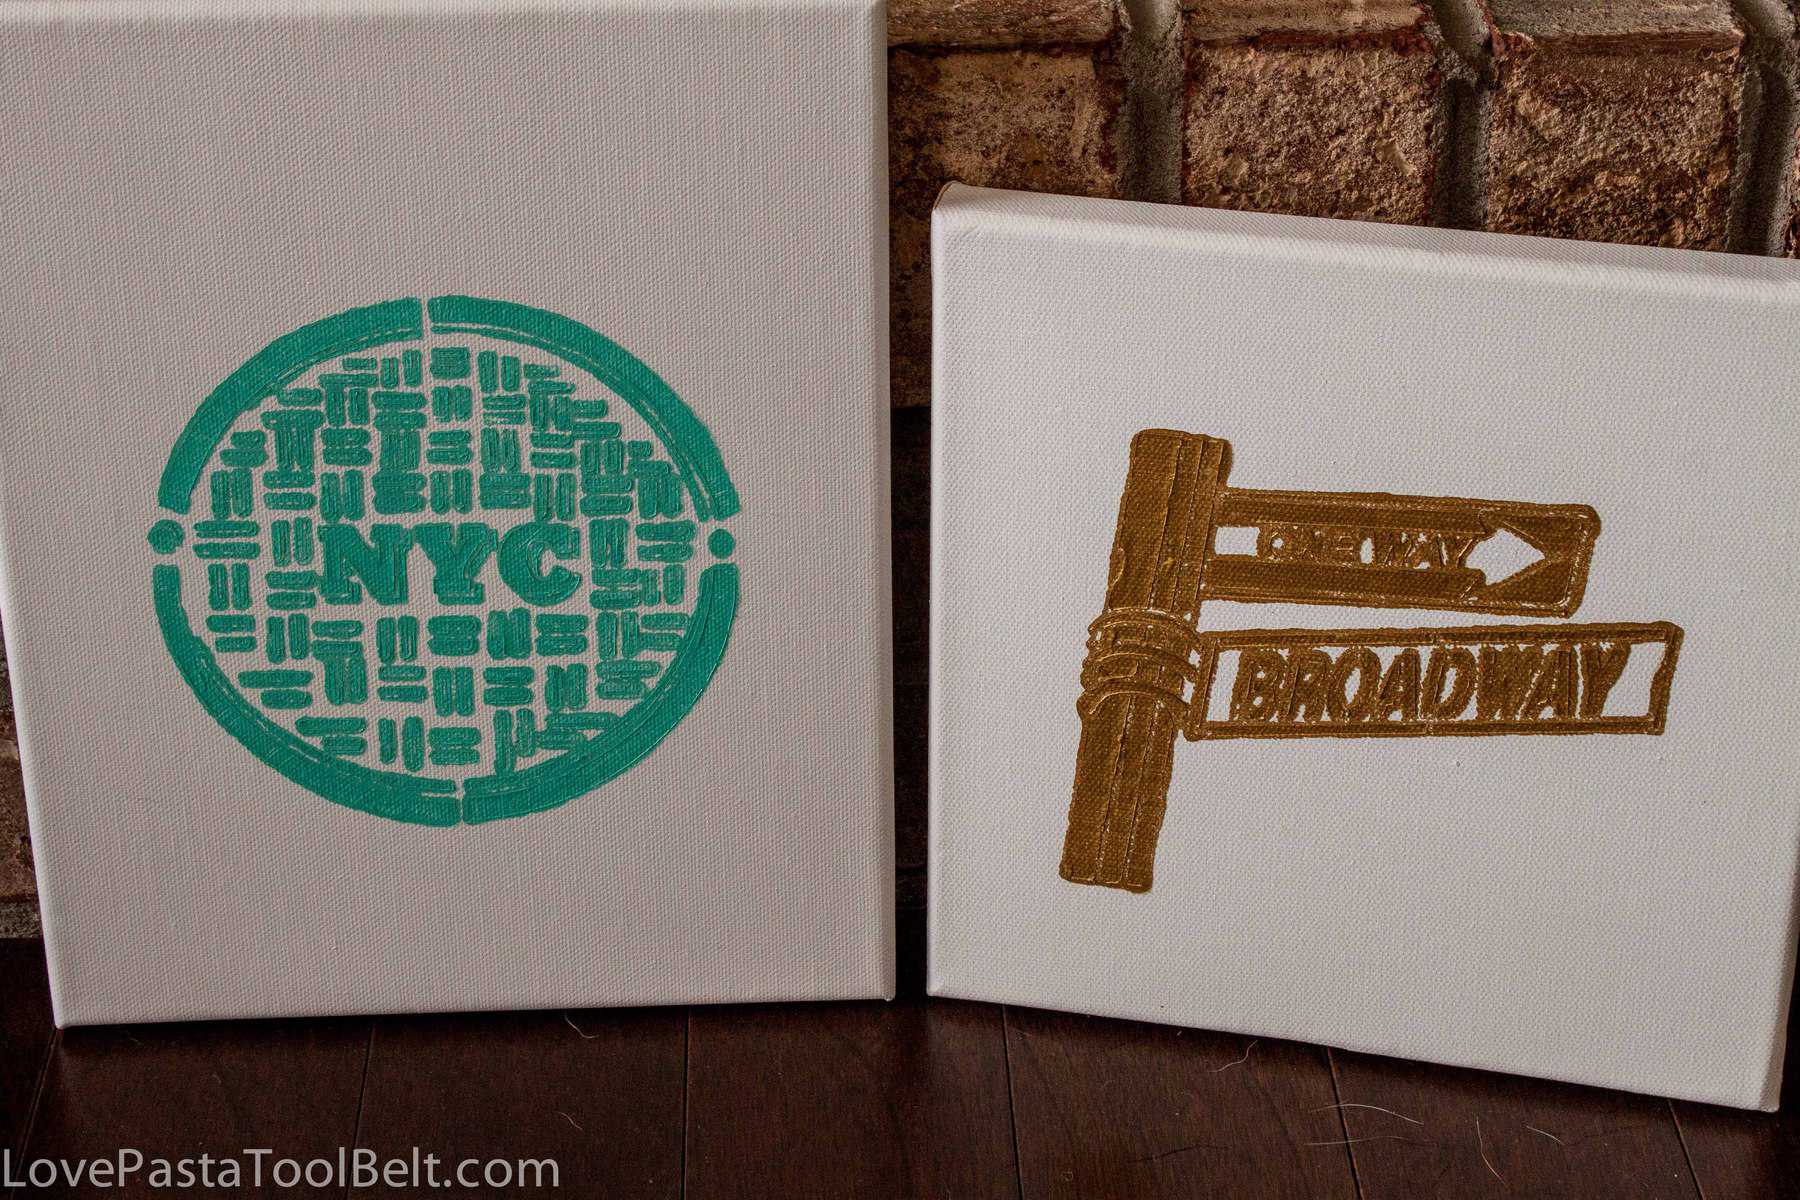
This project was so easy and I was so pleased with how well these cute NYC stencils turned out. I’ve never had such great results with stencils before. Our last project we were using painters tape to hold the stencil in place, well no need for that anymore! I used turquoise and gold paint because I am loving those two colors together right now but these can be done in any colors.
Do you have any favorite stencil projects you’ve done? I’d love to see them!
Check out these projects from some other fabulous bloggers!
- Check out The Plaid Palette blog
- Sign up for their newsletter
- Follow on Pinterest
- Like Plaid on Facebook
- Follow on Instagram
- Follow on Twitter
- Watch Plaid on YouTube
- Follow Plaid on Google+
This is a sponsored post written by me. I received compensation and product in exchange for my opinion. All opinions are mine alone. This post may contain paid links.

How cool, that looks so fun! I like the colors you chose, they look really good with the background they’ll be around. I really want to refresh my decor. Happy Thursday!
Thank you! I love the colors too!
Emily