Please welcome my contributor Charlene sharing her DIY Office Gallery Wall
Hey readers of Love, Pasta, and a Tool Belt! I’m Charlene from Enduring All Things and I’m so excited and honored to be one of Emily’s new contributors!
I currently live in Columbus, Ohio with my husband and fur-child. We moved here just after getting married almost four years ago because my husband was starting grad school at The Ohio State University. I had already been working in my big-girl job just out of college for about six months by the time we moved from Georgia to Ohio. Luckily, my boss wanted to keep me on and has let me work from home here in Ohio ever since!
So basically, all that to say, I work as a software developer in my little “office” in the corner of my guest bedroom every day. And I hardly ever leave the house. I also do a lot of my blogging from that desk. Staring at the same four walls day in and day out gets pretty boring after a while.
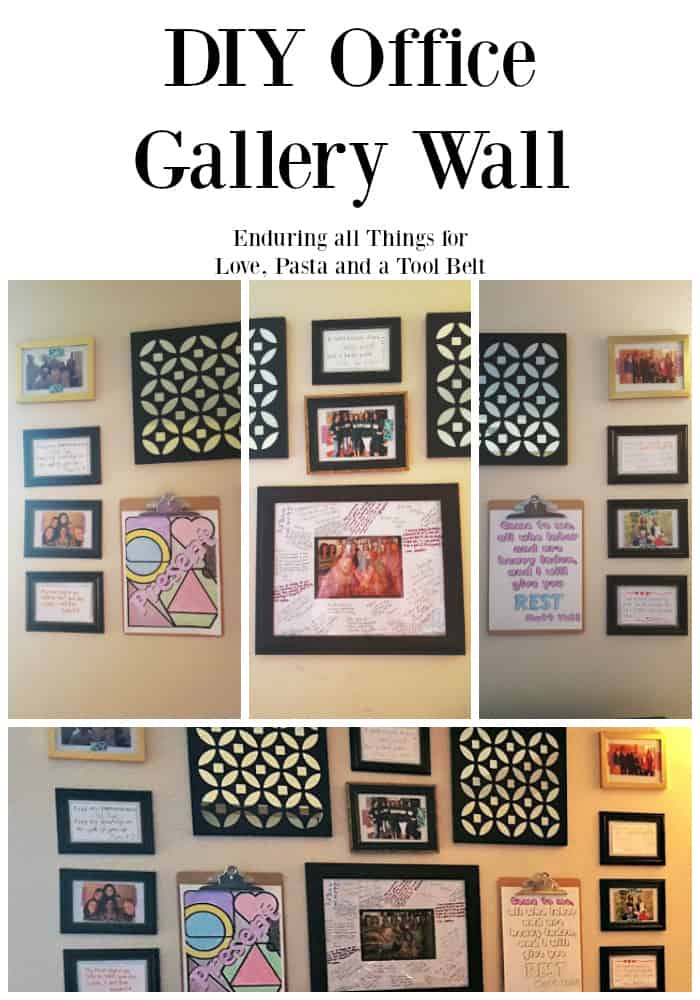
The other day, I decided my office space needed a major re-vamp. Especially that joke of a gallery wall you see there behind my computer. So I set to work.
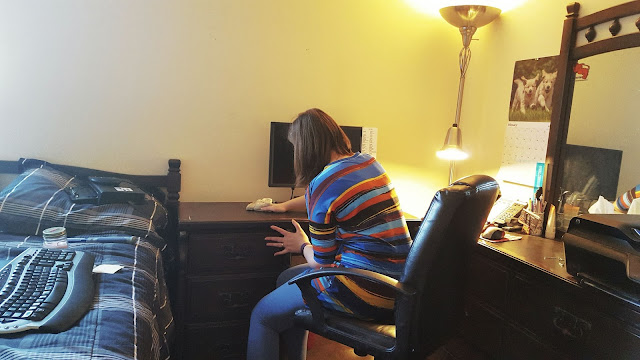
The first thing I did was clean everything off the desk and wipe it down. Okay, that’s a lie. As you can see from the above picture, the first thing I did was rip everything down off the wall and move my wall calendar to the other wall. Then I cleared off the desk and dresser and wiped them down.
I put away all clutter off the top of my desk and dresser because it was just getting to be too much. In that process, I ended up cleaning out all the drawers in order to make room for the clutter. This project was turning into something much bigger than I originally planned, but it was much needed!
Next, I gathered any picture frames and wall art I could find that I thought might go well on that wall. I didn’t buy anything new. Most of the frames I had bought from the dollar store a while ago. The mirror pieces were a wedding gift, and the clip boards were left over from a youth rally I worked with a few months ago.
So I laid everything out on the floor like I wanted it. I am one of those people that has to have everything symmetrical. Please tell me I’m not the only one! I love when other people create gallery walls that are asymmetrical. I always think they look so cool. I just can’t bring myself to do it! Maybe in a few months when I get tired of this I’ll move some stuff around and try to go for an asymmetrical look again. But for now, I’m sticking with this.
I got the idea to use clip boards in my gallery wall from Laura of According to Laura Jean. I thought the idea was brilliant because she could easily switch out quotes and verses whenever she wanted to. So I transferred the idea to the picture frames as well. Instead of putting pictures in the frames, I put white paper in the frames and taped pictures and bible verses to the outside of the glass with washi tape.
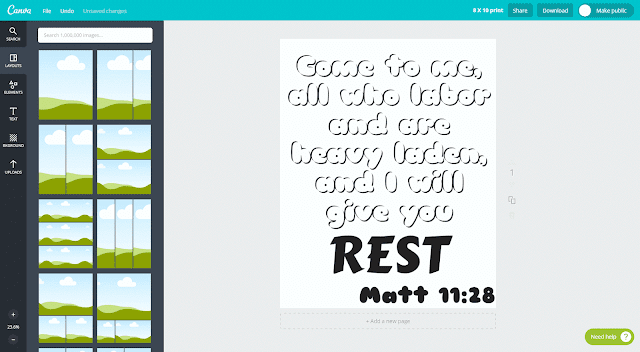
Notice those coloring pages there on the clip boards… I created them in Canva!
A couple weeks ago, Sarah of Venus Trapped in Mars posted a tutorial for removing the color from a font in Photoshop. I don’t have Photoshop and I really wanted to figure out a way to do this in Canva. So I did a little research and found a video tutorial for creating a drop shadow in Canva (the 5th hack in that article).
Now, a drop shadow behind a line of text is not an outline, but two drop shadows could be!
So, for step one, I created the text I wanted in black. Next, with that text selected, I clicked the down arrow on the options bar that pops up and selected “copy.” Now there were two copies of the same text.
The next step is to change the new coppied text color to white. To do this, I highlighted the text and clicked on the black circle in the options bar to change it to white.
Now comes the tricky part. You have to line up the text just right so the black text creates an outline behind the white text. Luckily, the video from the drop shadow tutorial revealed a little trick that I didn’t know existed in Canva before watching. If you move your cursor to the edge of the text box where it changes into a four way arrow, you can click and then use the arrow keys on your keyboard to barely move the text! Sorry I didn’t really get a good screen shot of this.
Next, I coppied the text again, but this time I change it to black. After that, with the new text selected, I clicked the down arrow on the options bar and clicked “move back” to put the new black text behind the white text on the opposite side from the original black text.
And lastly, I move that text the same way I did with the white text until it completes the full outline.
Then I went through the same steps with the rest of the text, printed it out, and colored it! This verse, Matthew 11:28 has really been speaking to me lately because I often seem to forget how important rest is. And the other coloring page I created features my word of the year, present!
If you don’t want to make your own coloring sheets and you like either of these (8X10) images, feel free to download them from below.
Coloring these may have been my favorite part of this whole project.
 |
| Enjoying the amazing weather we had a couple weeks ago with my Shakeology shake and my adult coloring pages. |
 |
| I may or may not have been watching Fuller House while putting the final touches on the gallery wall. |
Do you ever feel like you need a refresh? Do you change the decor around your “office space” often?
Thanks for reading!







Ohhh! Charlene, I love the way this turned out and I am so glad my clipboards were inspiring! Your office space beautiful and making coloring sheets with Canva is an excellent idea!
Thanks so much, Laura! I loved the clip board idea. And your post inspired me to redo that wall anyway. I needed an upgrade and now I’m so much more inspired!
I LOVE how it turned out! I love cleaning out my desk…so cathartic. 🙂
Thank you, Christine! it really does feel good!
This turned out sooo wonderfully. I pinned the final result onto my “picture gallery” pinterest board. Thanks for some inspiring ideas!
–G
gingerwroot.com