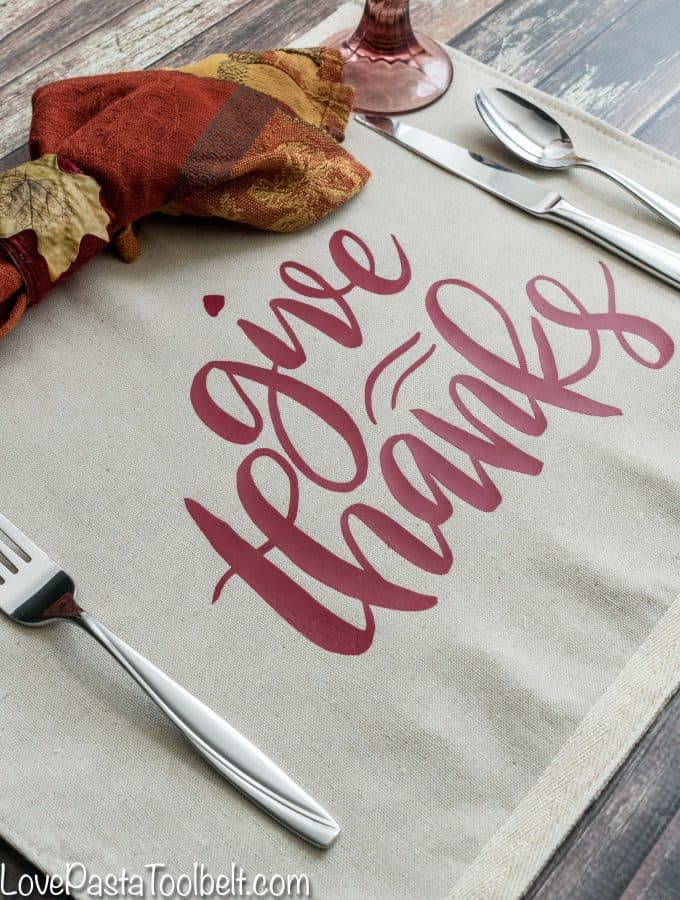
Remember to give thanks now and all year long with this DIY Give Thanks Placemat
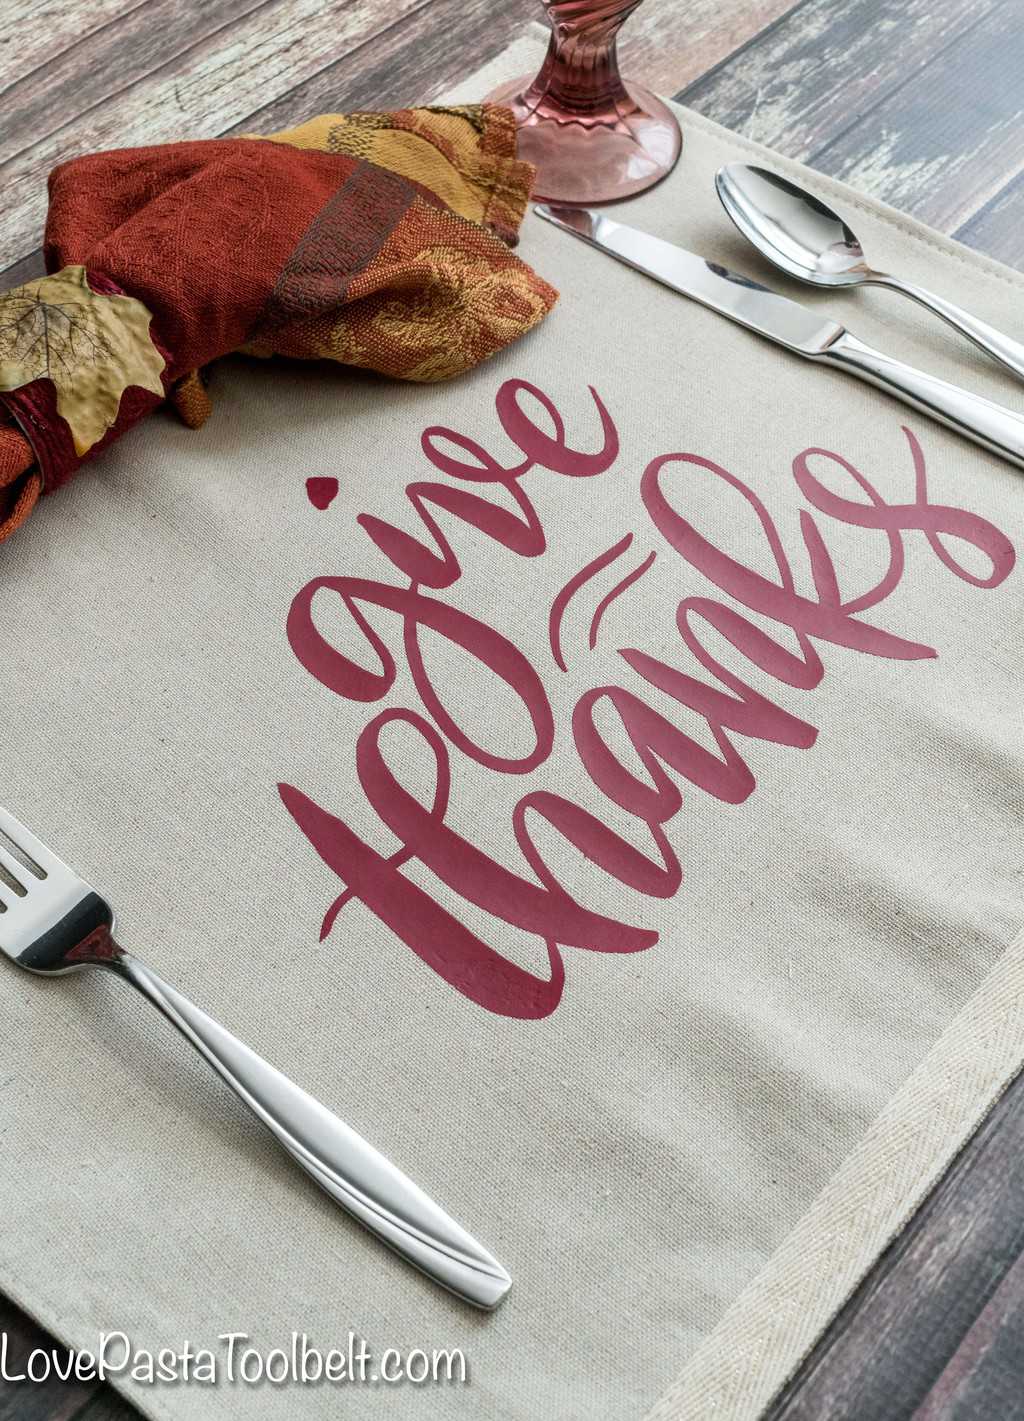
Heat Transfer Vinyl is something I have struggled with in the past, but today I have my second success story of using it and I’m so excited. Now I think I need to buy some more HTV and start making K all kinds of cute onesies. I was brainstorming ideas for Fall and Thanksgiving posts when I found these cute linen placemats in the Target Dollar Spot. Granted they were $3 but still a pretty good deal for this beautiful blank canvas. I knew I wanted something to remind me to be thankful, so I grabbed a Give Thanks design from the Silhouette store.

The first step was to put together my design. I purchased a Give Thanks design from the Silhouette store, but you could also design your own pretty easily. Don’t forget to flip your design horizontally (mirror it) in order to make sure it cuts right or it will end up backwards and that’s not what you want!
Once I had it sized the way I wanted I got my HTV and placed it on my cutting mat shiny side down.
Even though the software says to put your blade on 2 I followed the advice of my friend Teresa from Simply Made Fun and put my blade on 6 and increased the thickness to 16 to ensure a complete cut. I also turned on the double cut feature.
After I cut the design I weeded it, leaving my design on the clear sticky part.
Next I ran the iron over my placemat to smooth it out, make sure not to use any steam when ironing on your design.
I placed my design how I wanted it and then placed a white t-shirt over it. I began ironing it on but found it wasn’t really working so I removed the t-shirt and ironed directly onto the design. I didn’t have any issues with this and found it went faster.

Once I was done (or so I thought) ironing I began removing the clear sticky paper, but if I saw a part that wasn’t sticking to the placemat I went back and gave it a good 30 seconds or more with the iron again.

After everything had set and I removed all of the clear paper I had a beautiful design on my placemat perfect for Thanksgiving and really all year round because we should give thanks all of the time.

I loved making this placemat and thinking about all the things we have to be thankful for this year. This was a big year for us, we welcomed our baby girl K into the world and our lives have changed forever. She is such a happy and smiley baby and sleeps like a champ. God has truly blessed us with her and we are loving being parents. So as I think back on the past year, I have a lot of milestones and moments to be thankful for with her in our lives and watching my husband become a dad. It’s been a great year. I’ve teamed up with some other wonderful bloggers to create #TheThankfulChallenge this year and we would love for you to let us know what you’re thankful for this year? You can tweet it, Facebook it or share an Instagram photo of what you’re thankful for, anything works. Just be sure to use the hashtag #TheThankfulChallenge so we can inspire others to share what they’re thankful for too!

[clickToTweet tweet=”This year I am thankful for my family. What are you thankful for? #TheThankfulChallenge” quote=”This year I am thankful for my family. What are you thankful for? #TheThankfulChallenge” theme=”style1″]

Be sure to check out these other posts in #TheThankfulChallenge
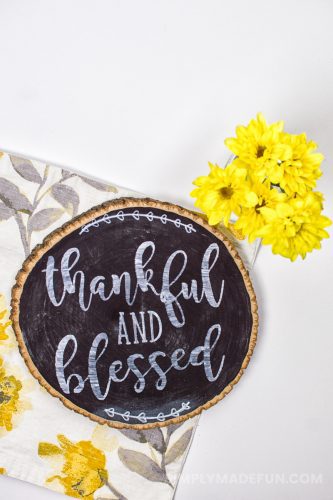
DIY Rustic Thankful Chalkboard

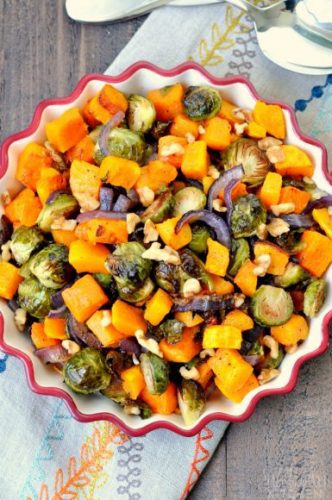
Roasted Brussel Sprouts and Butternut Squash
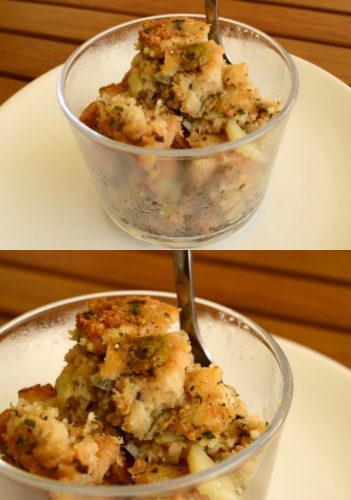
Homemade Thanksgiving Stuffing

Pumpkin Sage Brie Rolls with a Cranberry Glaze


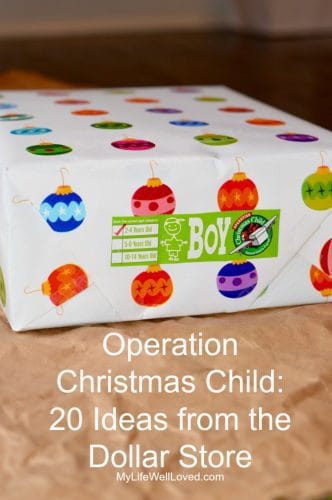
Dollar Store Operation Christmas Child Ideas


I really love your placemat. So great that you found an actual mat that would work already made. HTV is hard to work with sometimes. Congratulations! Thanks so much for putting together this challenge. I too am thankful for my family. I’m also thankful for my husband’s job and all the opportunities we have because of it. We are currently living in Martinique and I’m pretty positive that would not have happened otherwise.