• Skip to primary navigation
  • Skip to main content
  • Skip to primary sidebar
  • Skip to footer
  • Home
  • About Us
    • Contact Us
  • Work With Us
    • Privacy Policy
    • Disclosure & Copyright Statement
    • Blogging Resources
  • Recipes
  • Home & Decor
    • Home & Decor
    • Crafts & DIY
  • Travel

Love, Pasta, and a Tool Belt

making crafty delicious

August 21, 2014 By Emily 7 Comments

DIY Initial Wreath

0 shares
  • Share
  • Tweet

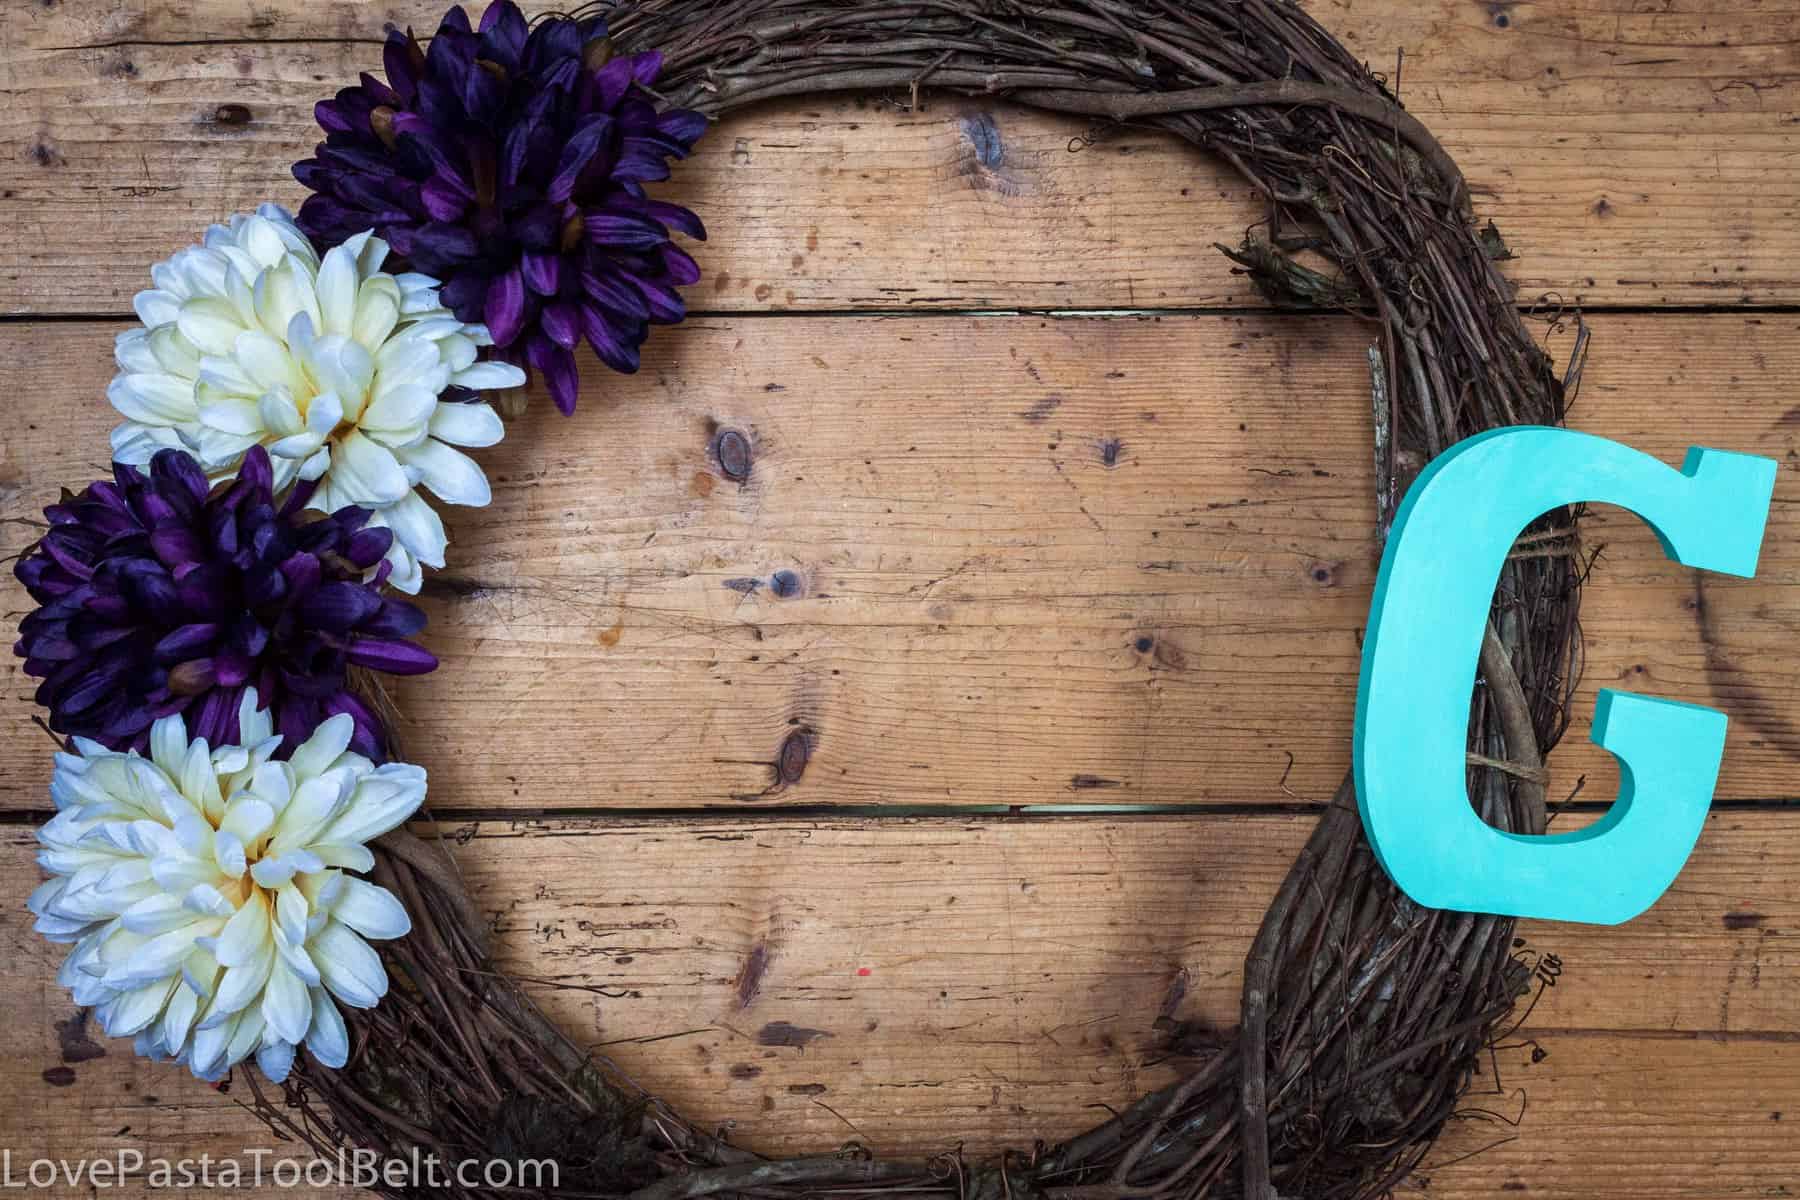
You know about my wreath love right? If you’re new around here then you may not know that I like to make multiple wreaths for each season. Check out my DIY page to see some of them. I wanted to make a wreath that would fit this time of transition from summer to fall. I felt like it was too late for a summery one and too early for a fall one. So I came up with this DIY Initial Wreath and I am in love with it.

DIY Initial Wreath- Love, Pasta and a Tool Belt

I have been wanting to make a cute wreath with an initial for awhile but I always struggled with how to keep the initial on the wreath. This time I decided hot glue and some twine would make it work. I had some good coupons so I headed over to Joann’s the other week to pick up my supplies.

Supplies:
– Grapevine Wreath
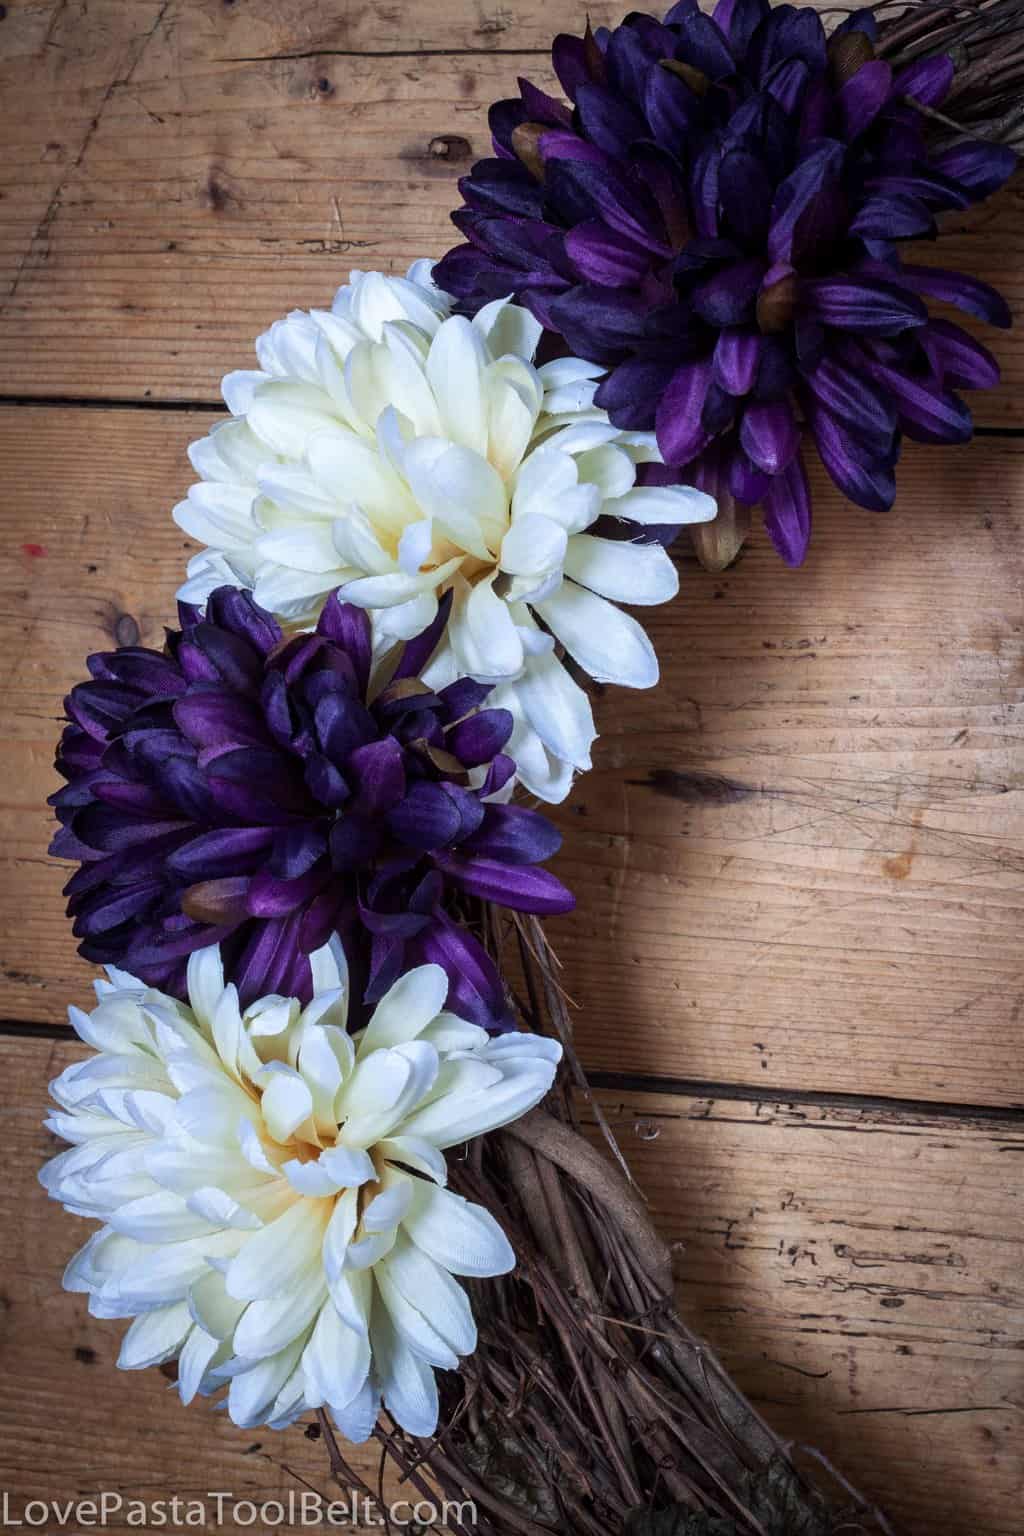
– Flowers (I got the clip on flowers which made this project so easy)
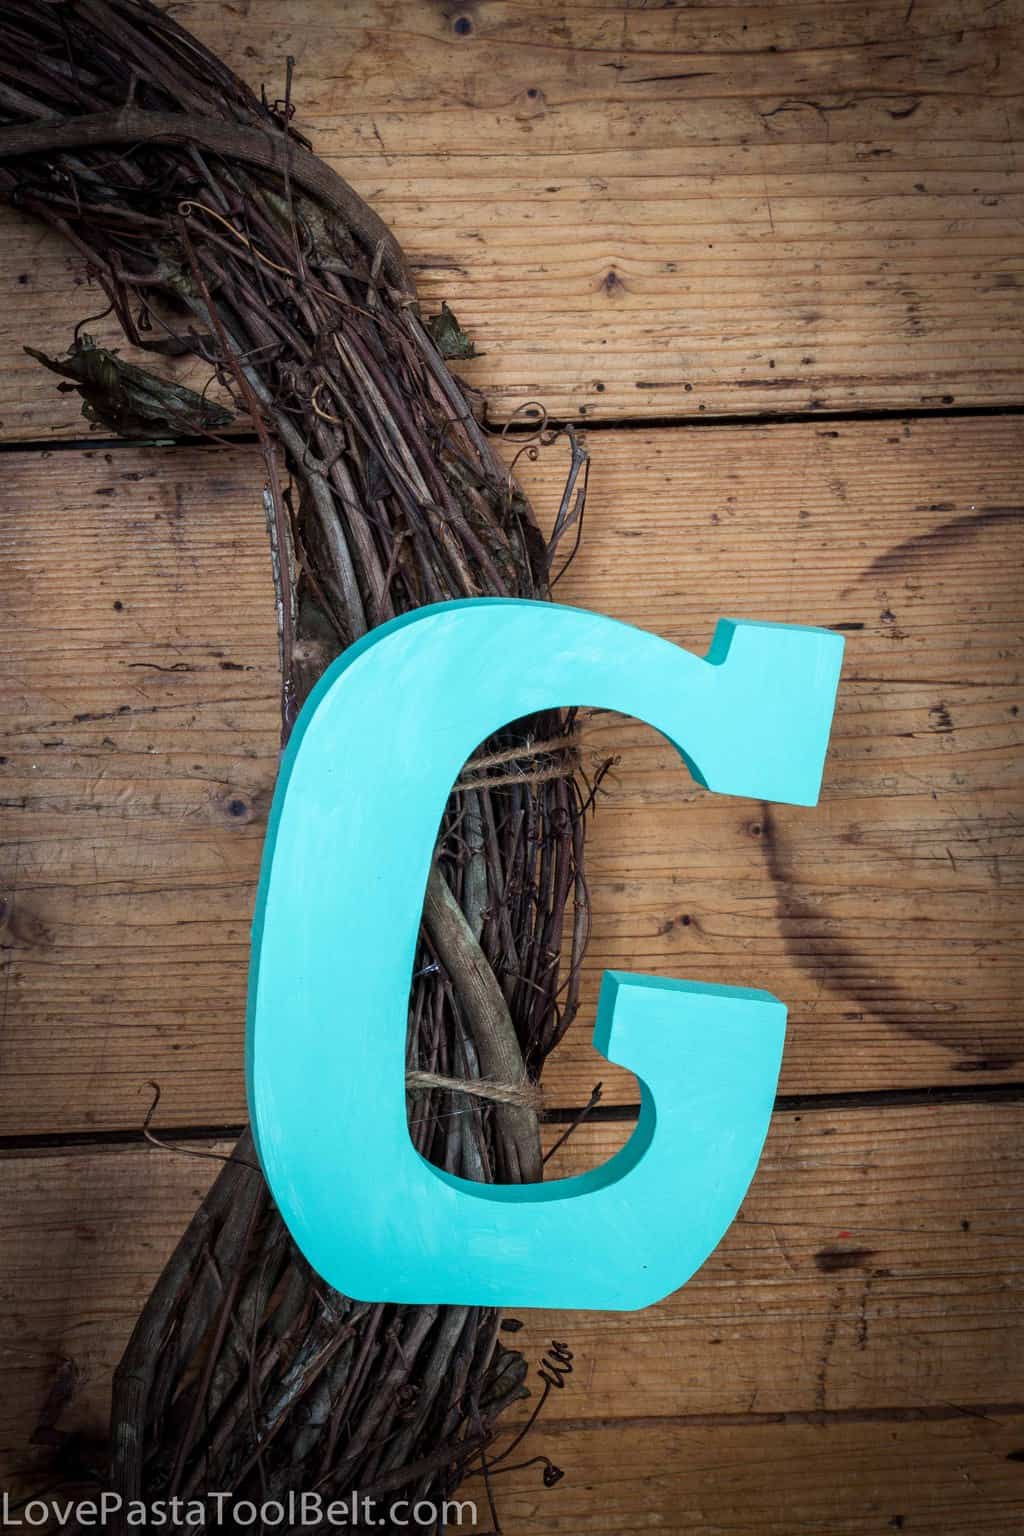
– Wooden Initial
– Paint
– Brushes
– Twine
– Hot Glue

Instructions:
1. Start with your initial and paint it and let it dry

DIY Initial Wreath- Love, Pasta and a Tool Belt

2. Attach the flowers to the wreath. Mine were clip on flowers so it was a cinch to put them on. In the past with other flowers I have used hot glue or wire to attach them.

DIY Initial Wreath- Love, Pasta and a Tool Belt

3. Once your letter has dried take four pieces of twine. Place two together at the top of your letter and glue to the back. Take the other two and glue to the back on the bottom. This will vary by your initial you are using.

4. Once your hot glue has dried tie the initial on to the wreath. Knot it well and then add additional glue to the back of the initial to insure that it stays.

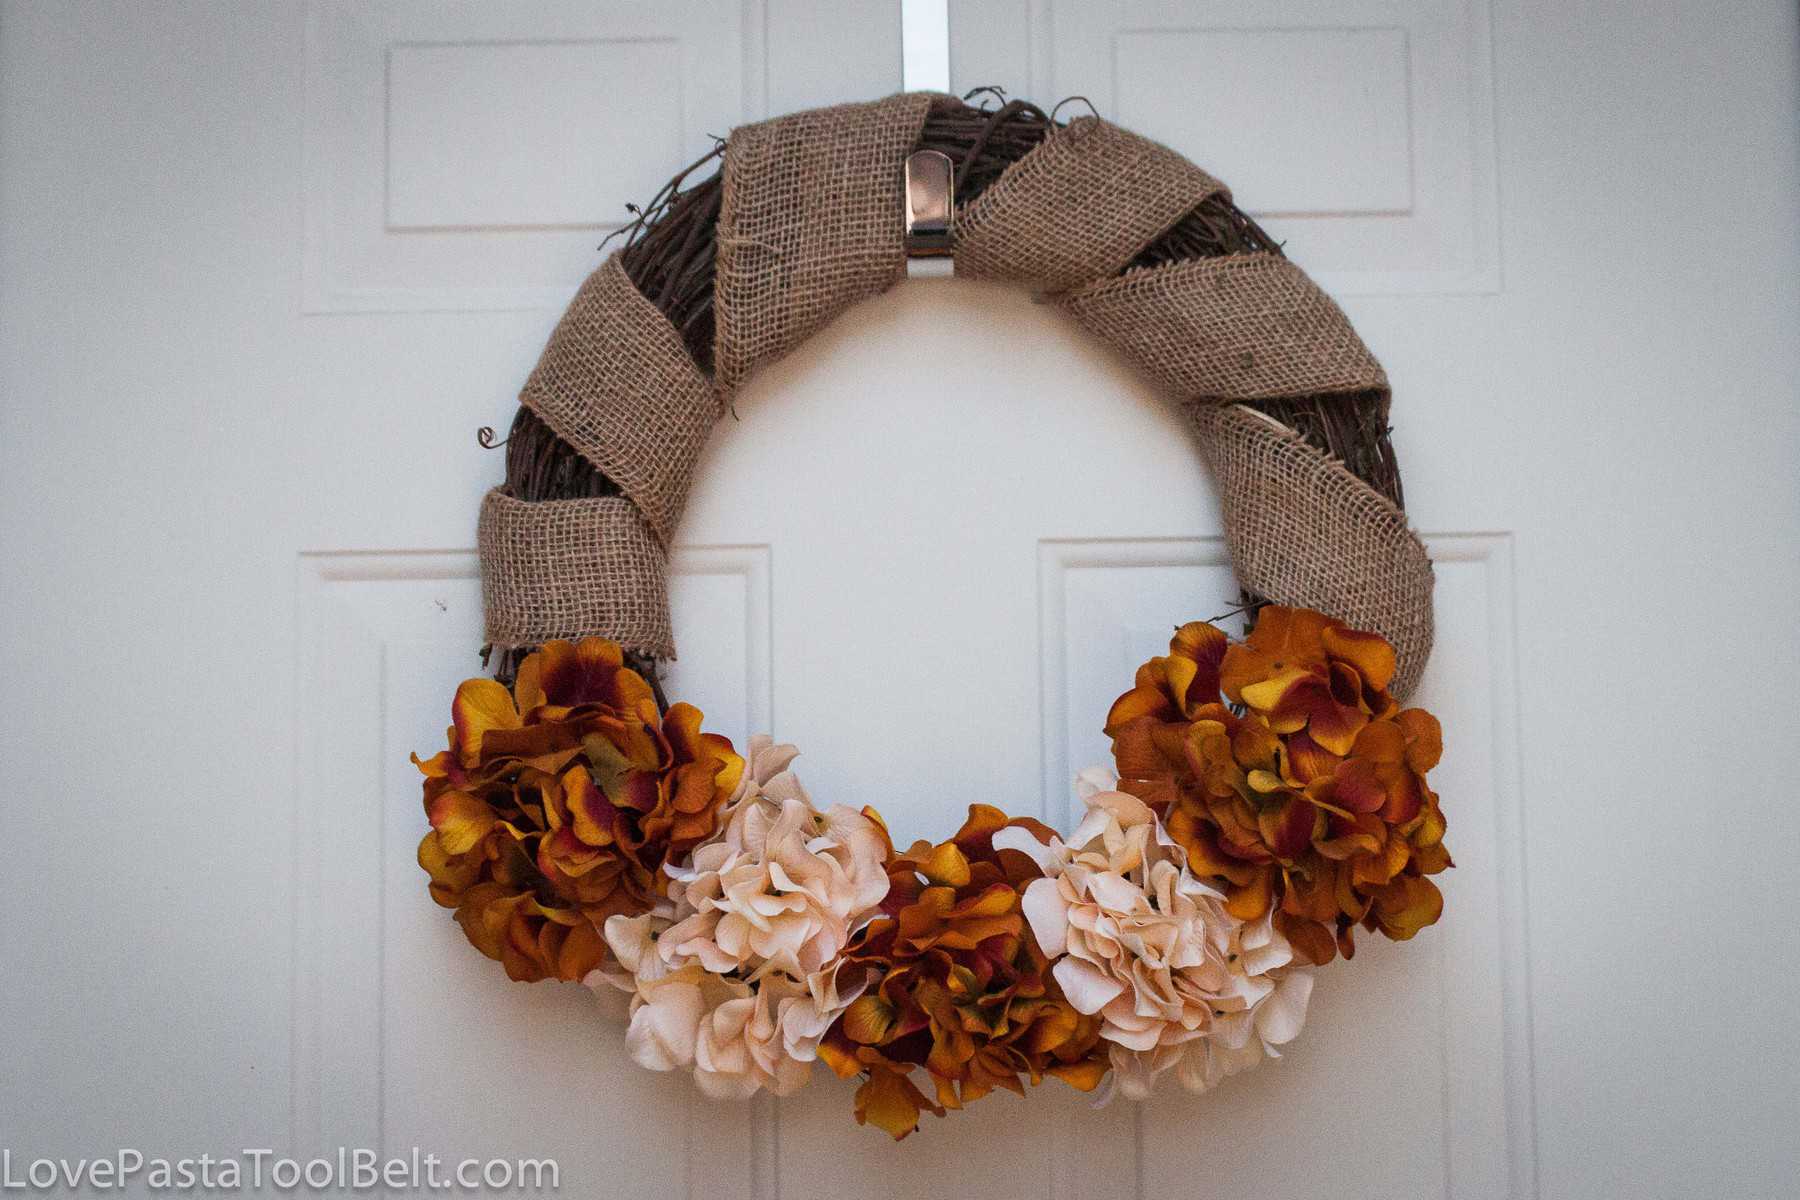
5. Hang it up and enjoy your decorated door!

I love how this wreath turned out! It’s hanging on my front door now and I think it will be the perfect wreath until fall is in the air. Right now it is blazing hot outside so it’s definitely not time for a fall wreath. But you better believe I am excited for one and oh my gosh, I just had an idea. You will have to stay tuned for my fall wreath idea!

Check out some of my other wreaths

Fall Wreath3 Step Fall Burlap Wreath

Thanksgiving Wreath-2 Thanksgiving Burlap Wreath

Burlap Wreath-5DIY Burlap Wreath

JOIN OUR NEWSLETTER and receive our FREE ebook
Thank you for subscribing.
Something went wrong.
I agree to have my personal information transfered to MailChimp ( more information )
Get new posts delivered to your inbox daily, weekly or monthly and keep up with all of the happenings at Love, Pasta and a Tool Belt!
We hate spam. Your email address will not be sold or shared with anyone else.

Filed Under: Crafts, DIY Projects, Wreaths Tagged With: Craft, diy, DIY Wreath, flower, initial, Wreath

Reader Interactions

Comments

  1. Melanie says

    August 21, 2014 at 8:45 am

    Very cute!! I also have a thing for wreaths. I just made a summery one. I meant to make it like a month ago, but didn’t get around to it. and I just wasn’t ready to throw in the towel on summer yet and start with fall decorating.

    Reply
    • Emily says

      August 21, 2014 at 2:59 pm

      Thank you! I love making wreaths. This one also took me a few weeks to finish up haha!

      Emily

      Reply
  2. Teresa @ Crafty Wife says

    August 21, 2014 at 9:41 am

    Wreaths are my favorite projects to do and I love the colors you chose for yours!

    Reply
    • Emily says

      August 21, 2014 at 2:58 pm

      Thank you!!

      Emily

      Reply
  3. Crystelle says

    August 21, 2014 at 11:14 pm

    Fun ideas. I love how the letter is attached with twine, so really you could re-move it and use it elsewhere! Smart thinking, friend!! 🙂
    xox, Crystelle
    CrystelleBoutique

    Reply
    • Emily says

      August 24, 2014 at 1:26 pm

      Thank you 🙂

      Emily

      Reply

Trackbacks

  1. Fall Apple Wreath - Love, Pasta, and a Tool Belt says:
    September 6, 2015 at 9:35 pm

    […] really feel it yet here in Tennessee, I can sense it! Can you? When I made my last wreath, DIY Initial Wreath, I had a great idea for a fall wreath and here it is today, my Fall Apple Wreath! Apples are one […]

    Reply

Leave a Reply Cancel reply

Your email address will not be published. Required fields are marked *

Recipe Rating


This site uses Akismet to reduce spam. Learn how your comment data is processed.

Primary Sidebar

  • Bloglovin
  • Facebook
  • Google+
  • Instagram
  • Pinterest
  • Twitter

Welcome!

Hey, I'm Emily and welcome to Love, Pasta and a Tool Belt!

I love to create delicious recipes and fun craft and DIY projects. My blog is where I blend it all together to make life delicious for you! I'm a wife, new mama, pasta lover, tv junkie, and a DIY addict.

Footer

Recent Posts

  • Tips for a Stress Free Beach Trip with a Toddler
  • A Foodie’s Guide to Hilton Head
  • Banana Oat Chocolate Chip Mini Muffins
  • 10 Christmas Traditions to Start with Toddlers
  • 5 Tips for Bringing Home a New Puppy
  • Bloglovin
  • Facebook
  • Google+
  • Instagram
  • Pinterest
  • Twitter


Emily Glover is a participant in the Amazon Services LLC Associates Program, an affiliate advertising program designed to provide a means for sites to earn advertising fees by advertising and linking to amazon.com.

© 2020 • LOVE, PASTA AND A TOOL BELT • Privacy Policy

0 shares